Adding push button start to a Lamborghini Murcielago.
The Murcielgo uses the same center console switch unit as the Gallardo, but only two of the three buttons do anything - the third simply sits there, taunting me. I really wanted the center switch to do something... anything... So, while she was put way for the winter, I decided to make the unused center button into an Engine Start / Stop button.
This is some info on the project.

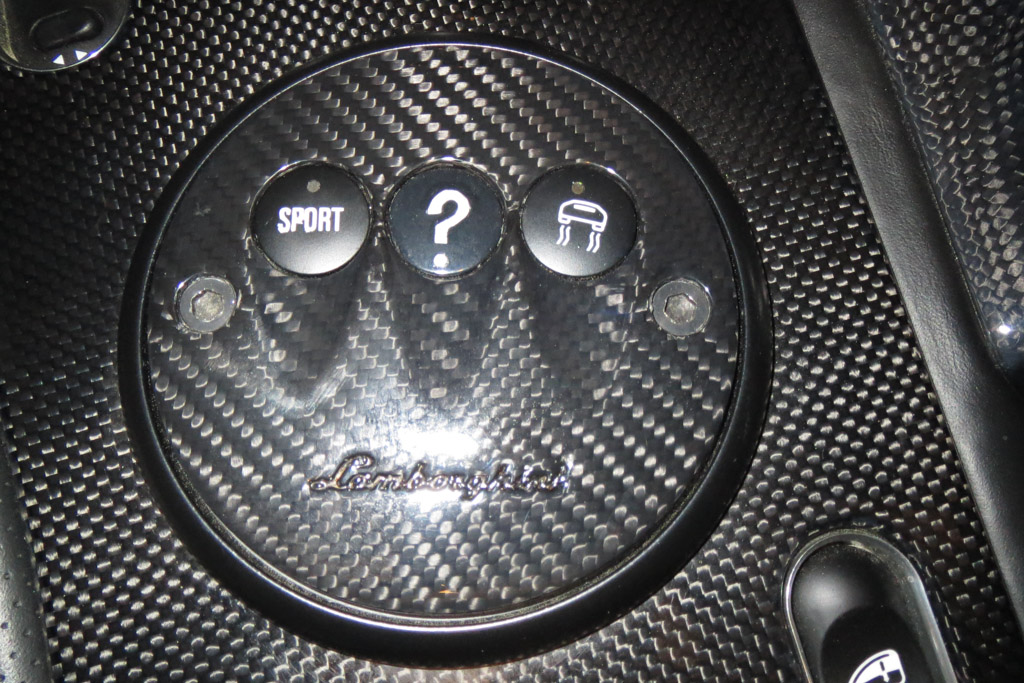
Center switches.
Having a big "?" on the center switch helped with the annoyance somewhat. For a while I considered replacing the (hand painted) "?" with "Ejector Seat", but wanted it to actually do something, so...
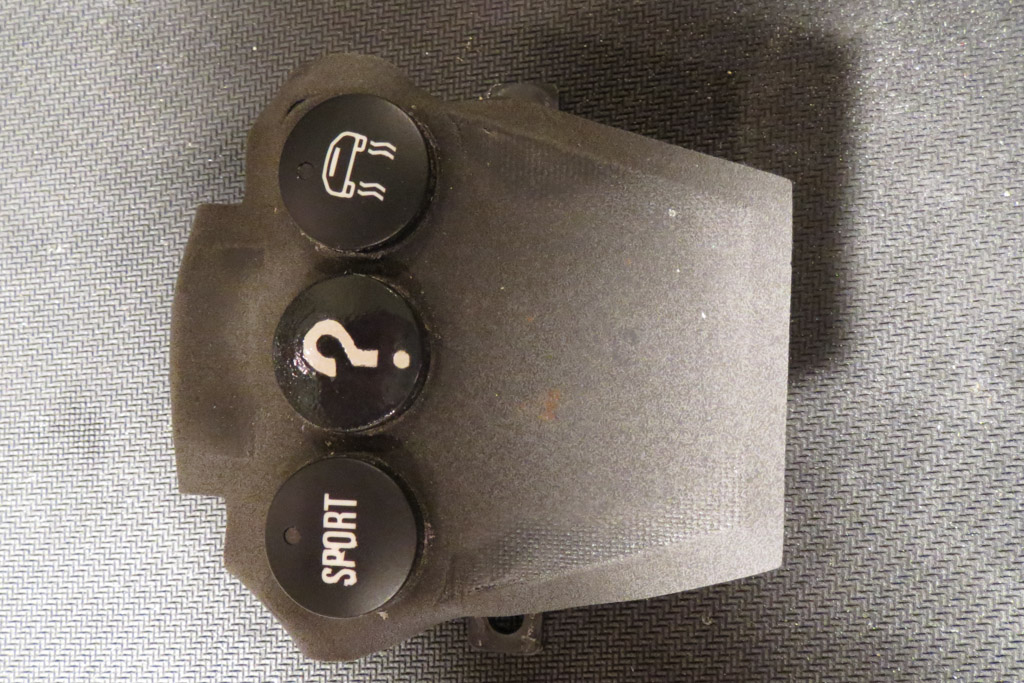

Center switch unit
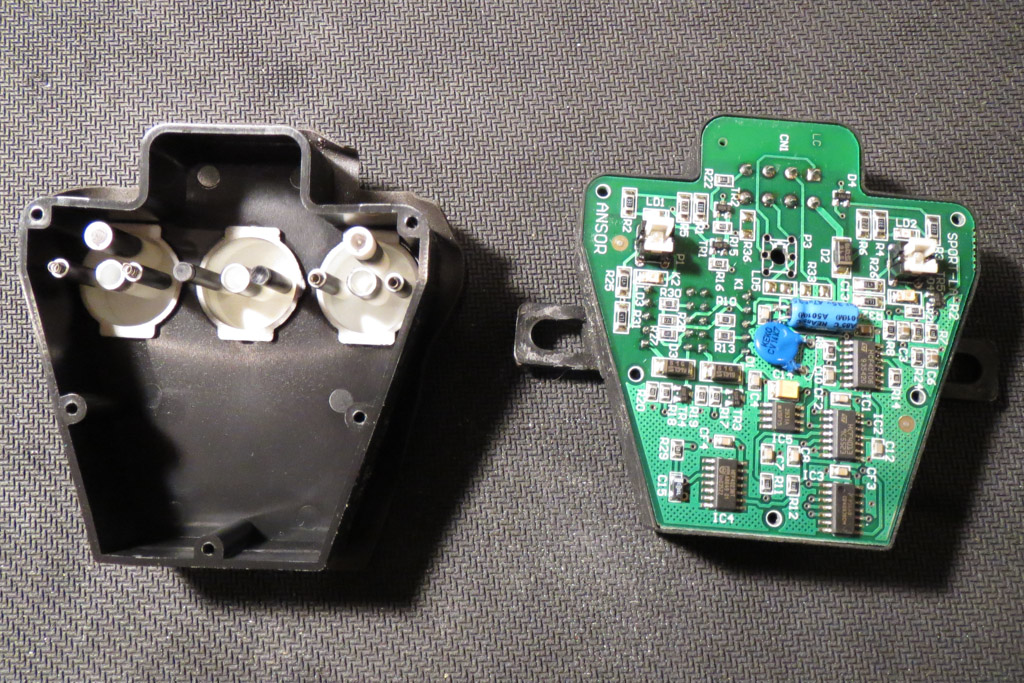
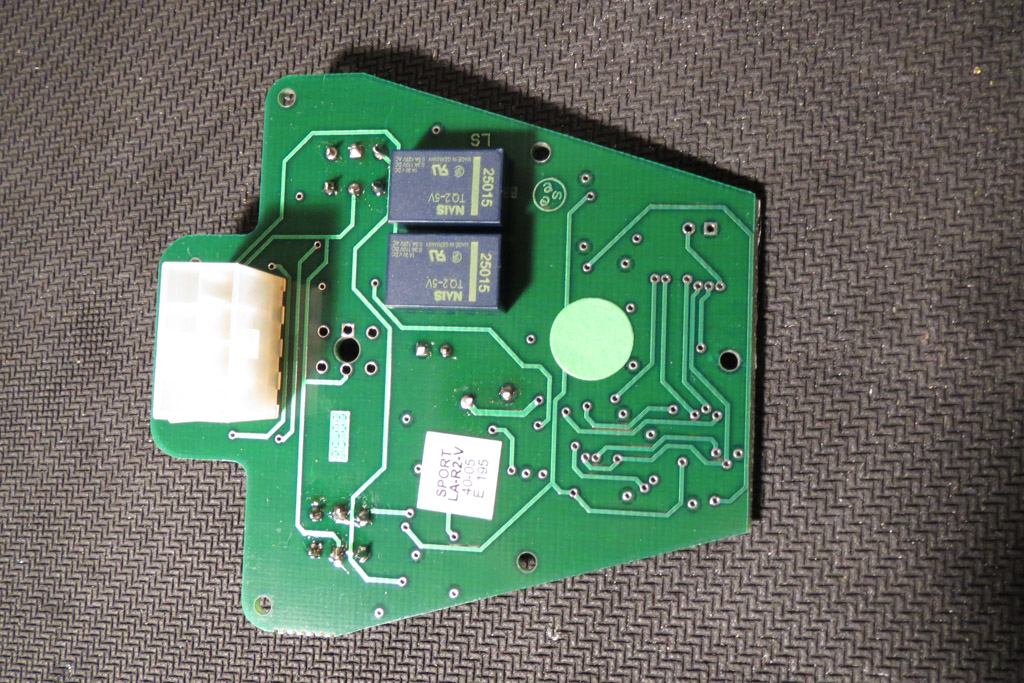
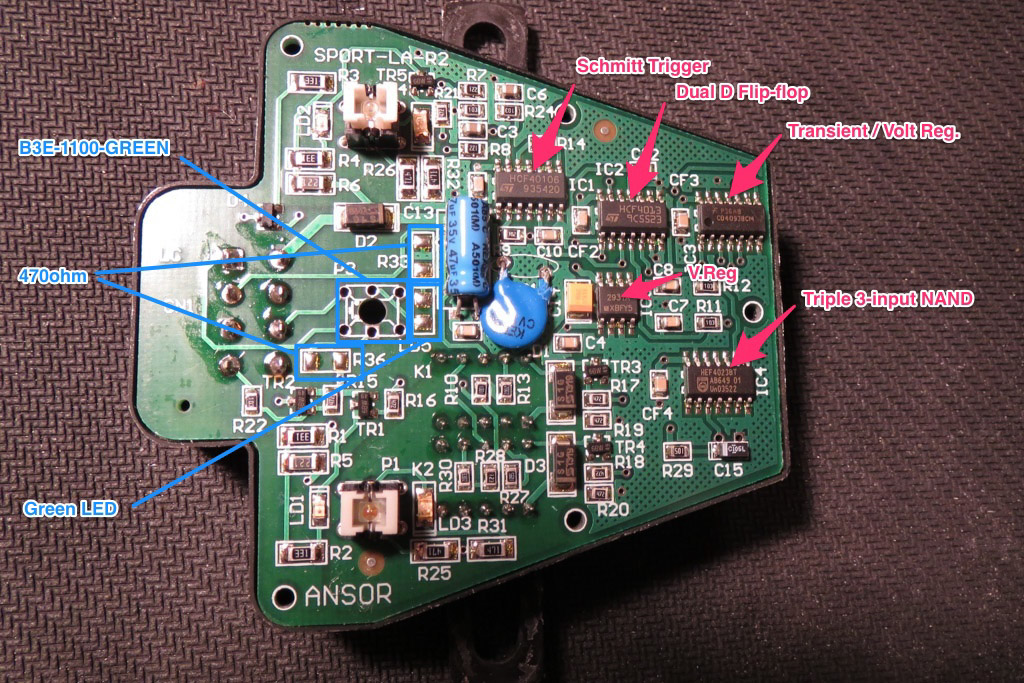
Disassembled center switch unit. Marked up with components.
As you can see from the final picture, the center switch unit is missing the center switch itself. I was hoping to be able to read the manufacturer and part number off one of the other switches without removing them from the baord, but no such luck, so I unsoldered the rightmost one, and... was still not able to find a manufacturer... After spending a large amount of time looking through online catalogs at DigiKey and Mouser and similar I finally found the correct switch at Jameco Electronics.
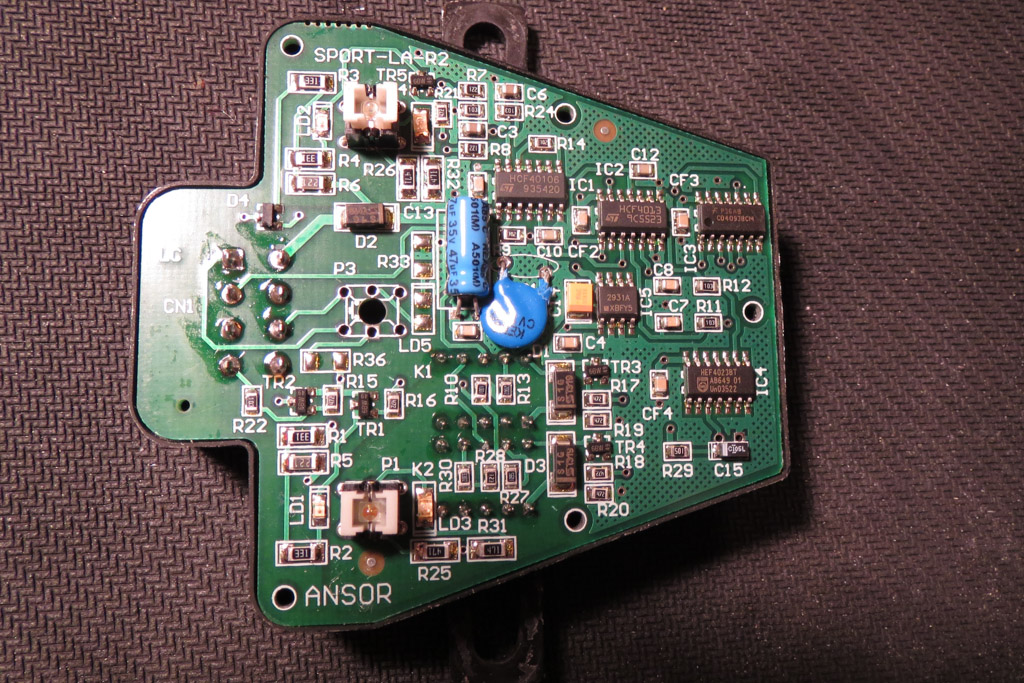
They are Omron B3E-1100-GREEN (or B3E-1100-RED), Jameco part number 2076287, available here. The board is also missing a surface mount green LEDs and two 470Ω SMT resistors for illumination. I had a bunch of LEDs around, but had run low on SMT resistors so I ordered some more as well. When I went to install them I discovered that the LEDs I had were 0603 package (and not 1206), but with a bit of careful soldering was able to make them reach.
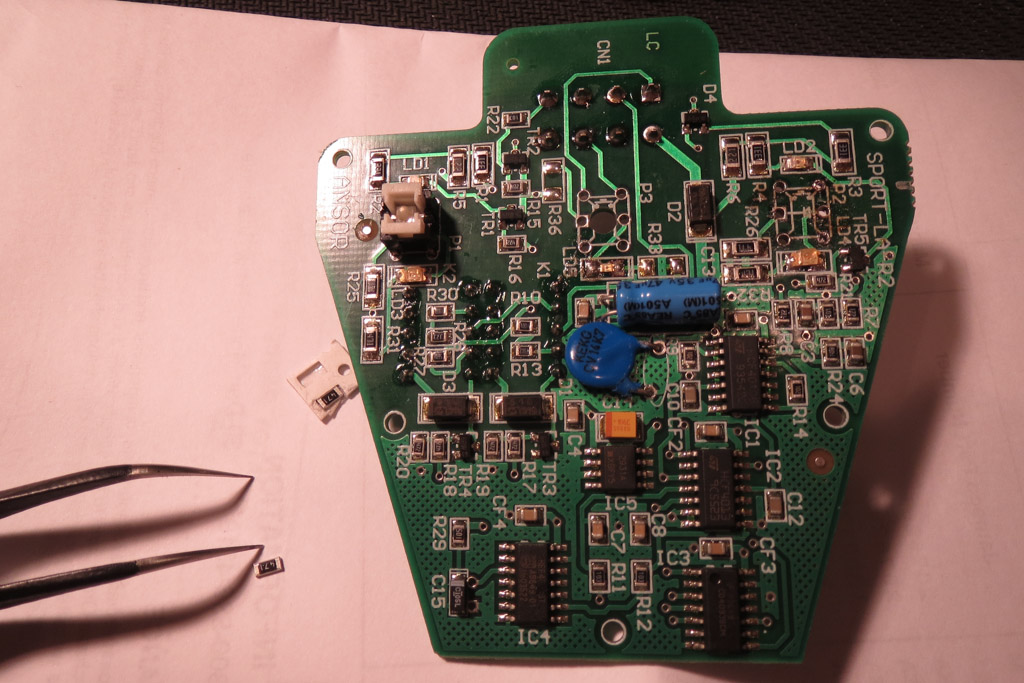
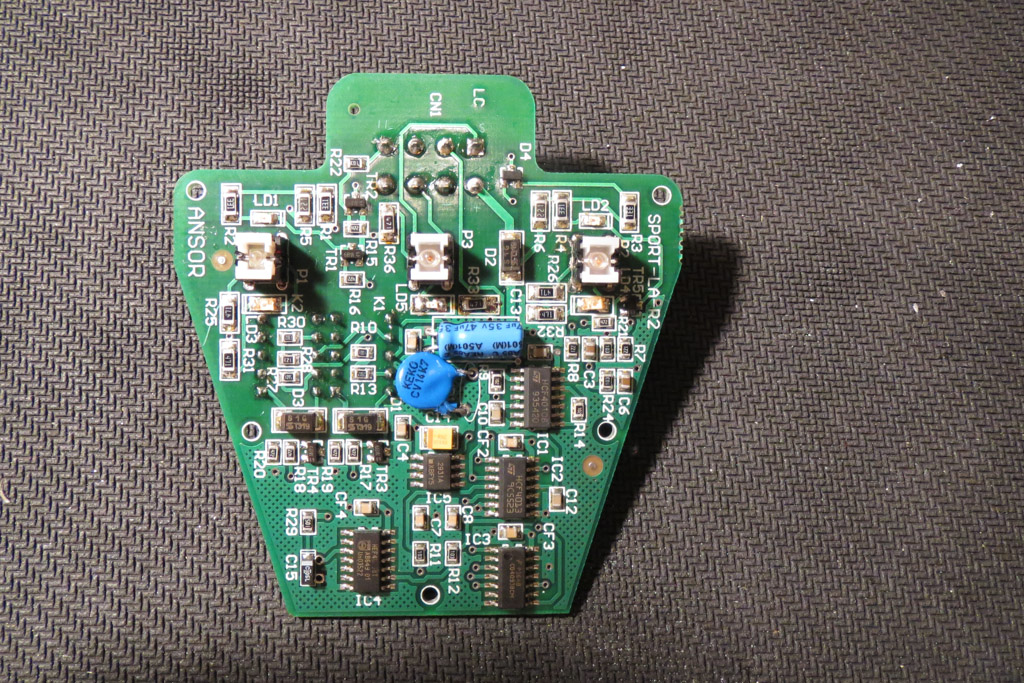
Soldered on switch, LEDs.
I was originally planning on having the middle button only perform the "crank" function (engage the starter motor); this would have been really simple, just hook the switch up to a relay and run wires to the back of the keylock unit... But, once I'd gotten this far into the project I decided I might as well go all the way and have the single button perform all the actions.
As there is only one button I had to get a bit creative with the interface. The first press of the button turns on Accessory (ACC) mode. The next press turns on Ignition (IGN). A third press turns everything off again. While Ignition is on, pressing and holding the button for more than one second cranks the motor. To keep things simple (and make it easier if anyone else wants to do this) I decided to do this with an Arduino.
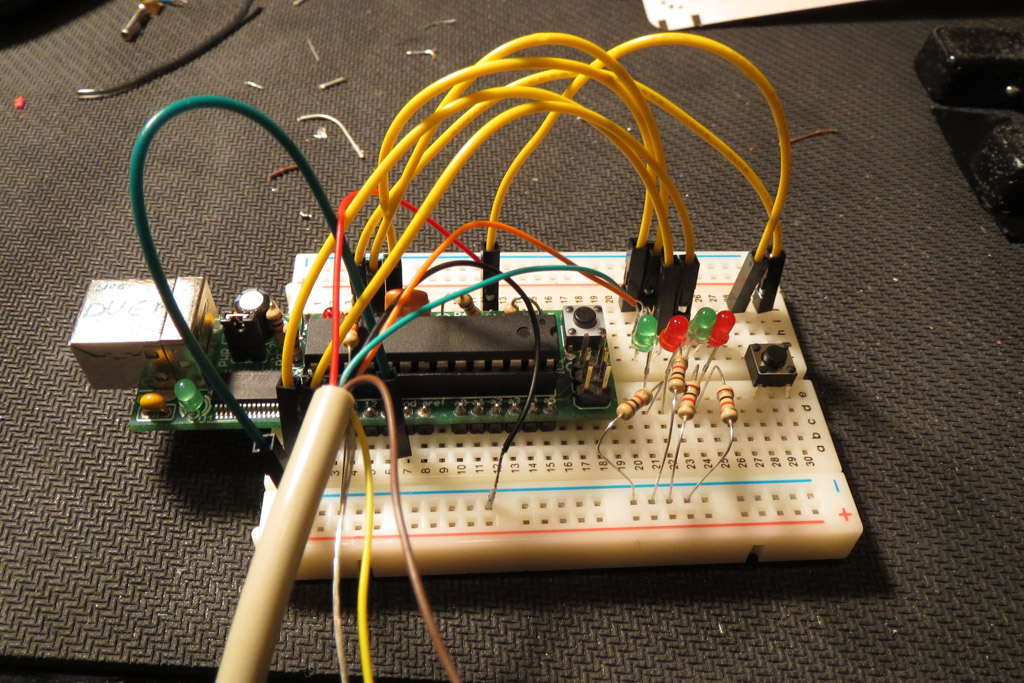
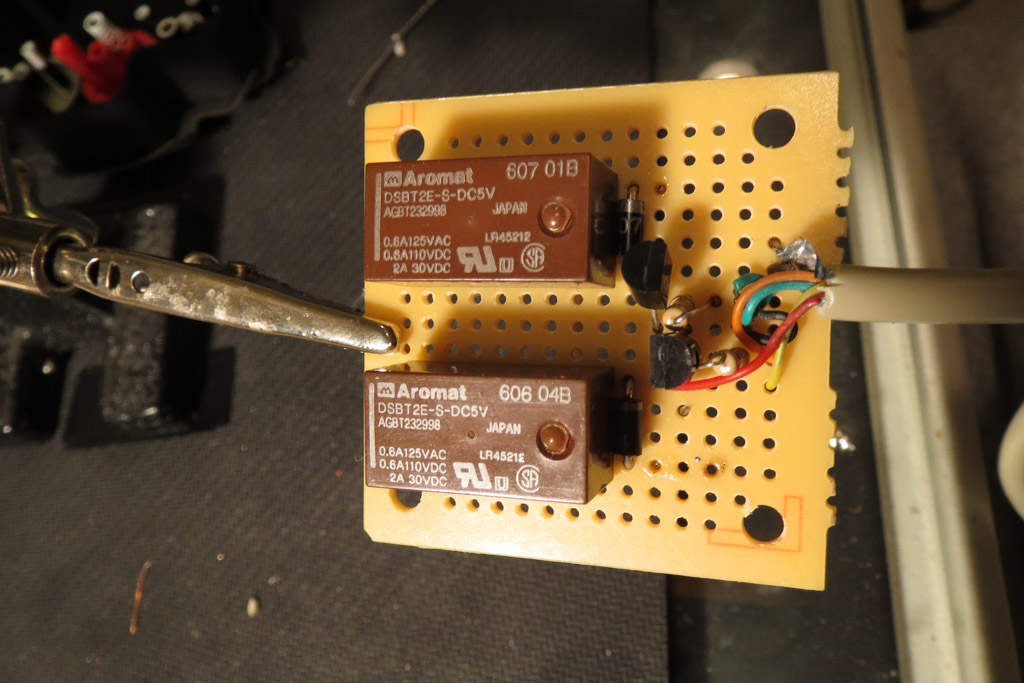
Prototype Arduino (extra LEDs for debugging) and relay board
I did the prototyping on a breadboard with a Boarduino (Arduino compatible) Kit w/ATmega328 from one of my favorite online places, Adafruit Indutries. There is no way that the Arduino will be able to switch the required current, so I built a little relay board with two relays, each with a snubber diode and a transistor to switch it. The only relays I had in stock were either quite small (like above) or really large, and needing 48v for the coil. I settled on the small ones, but their contacts are only rated for 2A @ 30V. After wasting an hour or so with this I looked online and found Amazon selling SainSmart 4-Channel Relay Modules for <$14 Prime. These have 4 relays rated at AC250V 10A, DC30V 10A, opto-isolators, indicator LEDs, etc and are designed to be driven by a microcontroller. I decided to just order these (and a bunch more for keeping in stock :-)) and play with the code instead.
[ MORE TO COME, Including Arduino source, relay info, STL for the buttons themselves, steering switch lock, etc. ]